Understanding the Basics of Clamping
Clamps are indispensable tools in workshops and for DIY projects, crucial for holding materials securely in place while you work. Whether you are gluing wood, welding metal, or simply need an extra hand, knowing how to use a clamp correctly is fundamental for achieving precise results and ensuring your safety. This guide will walk you through the essential steps and considerations for effectively using various types of clamps, transforming your approach to many common tasks.
Common Types of Clamps at a Glance
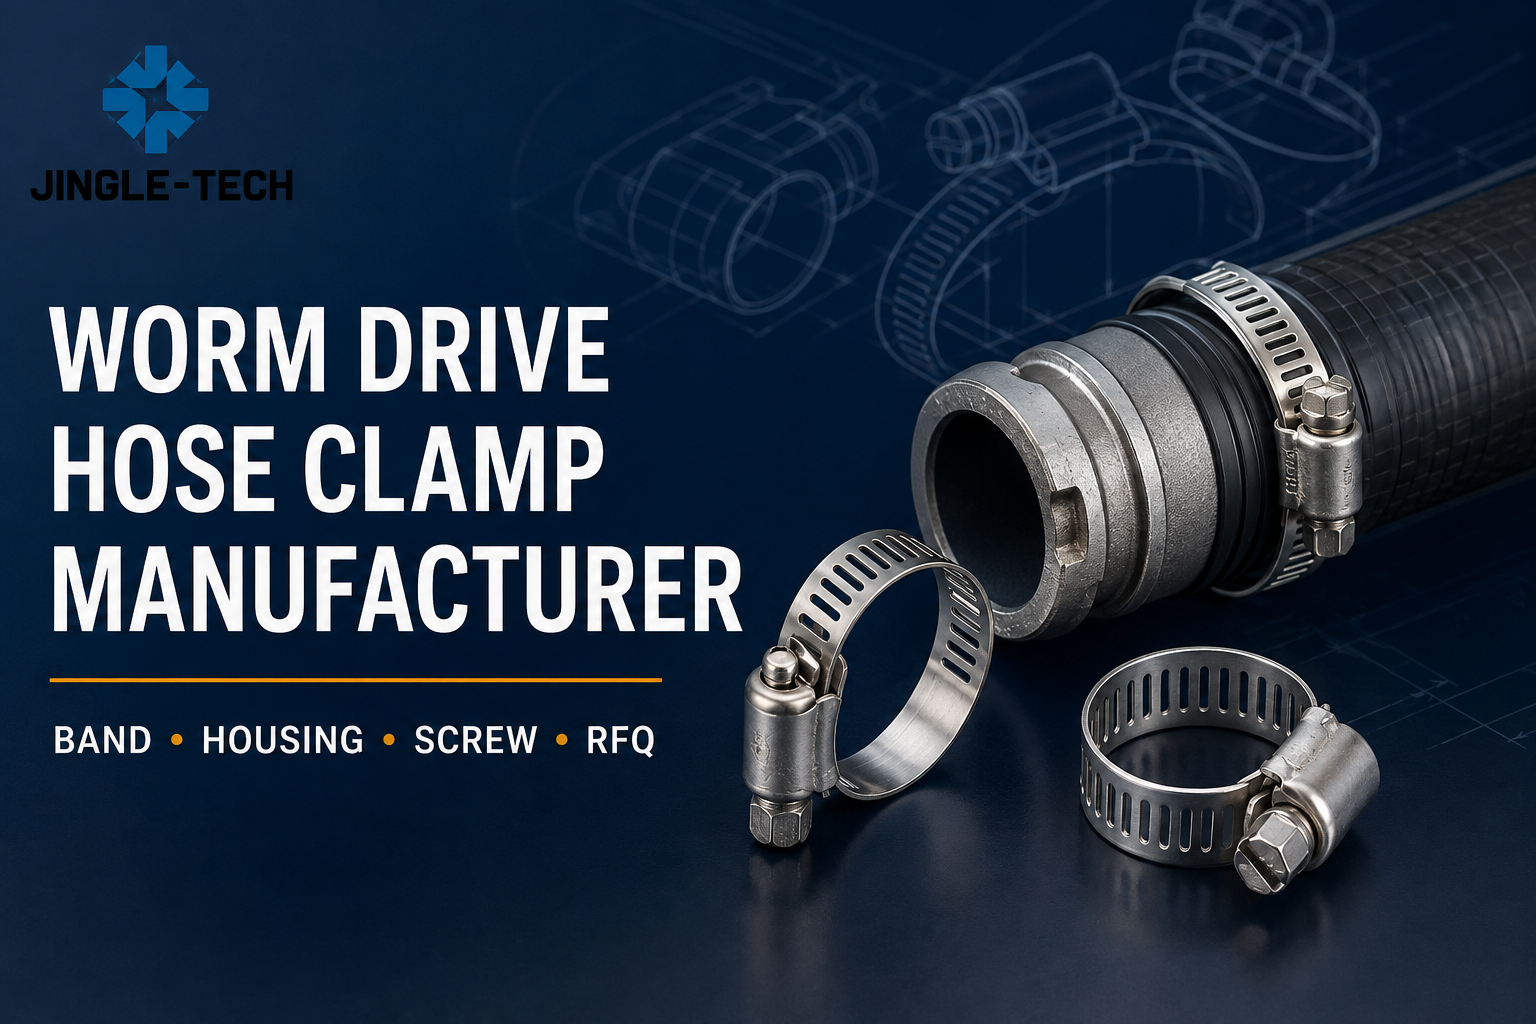
Before diving into the specifics of usage, it's helpful to recognize that clamps come in many forms, each designed for particular tasks. Common types include C-clamps, known for their robust C-shaped frame; bar clamps (or F-clamps), excellent for wider applications; spring clamps, which offer quick, light pressure; and pipe clamps, which can be customized for very long workpieces. While their mechanisms may differ, the fundamental principles of applying even pressure and securing materials apply across the board. Selecting the appropriate clamp type is the first step towards successful application.
Preparation: Getting Ready to Clamp
Proper preparation is key to effective clamping. Begin by selecting the right clamp for your specific task. Consider the size of your workpiece, the amount of pressure required, and the type of material you are working with. Once you've chosen your clamp, inspect it for any damage or debris that might interfere with its operation. Next, prepare your workpiece. Ensure all surfaces to be joined are clean, properly aligned, and dry if adhesives are being used. To prevent marring or damaging delicate surfaces, use protective pads or cauls made of scrap wood, cork, or specialized clamp pads between the clamp jaws and your material.
The Clamping Process: A Step-by-Step Guide
Once prepared, follow these steps for optimal clamping. First, carefully position your workpiece components exactly as they need to be secured. Open the clamp jaws wide enough to fit comfortably over the items. Place the clamp so that its jaws make even contact with the surfaces (or protective pads). Apply pressure gradually by tightening the clamp's screw or mechanism. Avoid the temptation to over-tighten, as this can damage the workpiece, the clamp itself, or cause the pieces to misalign. As you apply pressure, continuously check the alignment of your pieces, making small adjustments as needed. This systematic approach is vital when learning how to use a clamp proficiently.
Tips for Effective and Secure Clamping
To get the most out of your clamps, keep these tips in mind. Always use an adequate number of clamps for the job; for larger projects, this often means more clamps than you might initially think. Distribute clamping pressure as evenly as possible along the joint or area being secured. When gluing, ensure you see a small, even bead of glue squeeze-out along the joint, which indicates sufficient pressure. Always double-check for squareness or the desired angles after applying clamps and before any adhesive sets. For delicate materials, soft pads are non-negotiable to prevent indentations. Finally, allow adhesives to cure fully according to the manufacturer’s instructions before removing the clamps.
Safety First: Essential Precautions When Using Clamps
Safety should always be your top priority when working with any tool, and clamps are no exception. Always wear appropriate personal protective equipment (PPE), such as safety glasses, especially if there's a risk of materials snapping or splintering under pressure. Ensure the clamp is securely fastened and stable before relying on it to hold a heavy or awkward workpiece. Be constantly aware of pinch points between the clamp jaws, the workpiece, and your hands. Never use a clamp that is damaged, bent, or has compromised threads. When not in use, store your clamps properly to prevent damage and keep them out of walkways.
Mastering the Clamp for Better Project Outcomes
Successfully using a clamp goes beyond just tightening a screw; it's about understanding pressure, alignment, and material protection. By following the preparatory steps, the correct clamping process, and adhering to safety guidelines, you can significantly improve the quality and precision of your projects. Practice will build your intuition for how much pressure to apply and the best ways to configure clamps for different situations. Mastering how to use a clamp effectively is a skill that will serve you well in any hands-on endeavor, leading to stronger joints, neater assemblies, and a safer working environment.