Understanding the Basics of How to Tighten a Hose Clamp
Hose clamps are essential components in plumbing, automotive, and gardening applications, securing hoses to fittings to prevent leaks. Knowing how to tighten hose clamp properly ensures a secure, leak-free connection without damaging the hose or the clamp itself. Whether you're working on a car radiator, a garden hose, or an irrigation system, mastering this skill can save time and prevent frustrating issues down the line. The process is straightforward but requires attention to detail to avoid over-tightening, which can crush the hose, or under-tightening, which might lead to slippage.
First, select the right size hose clamp for your application. Measure the diameter of the hose and the fitting to ensure a proper fit. Most clamps are adjustable, but starting with the correct size makes tightening easier and more effective. Position the clamp over the hose where it connects to the fitting, ensuring it's aligned perpendicular to the hose for even pressure distribution. This initial setup is crucial before you even think about how to tighten hose clamp, as misalignment can cause uneven sealing and premature wear.
Step-by-Step Guide on How to Tighten Hose Clamps Safely
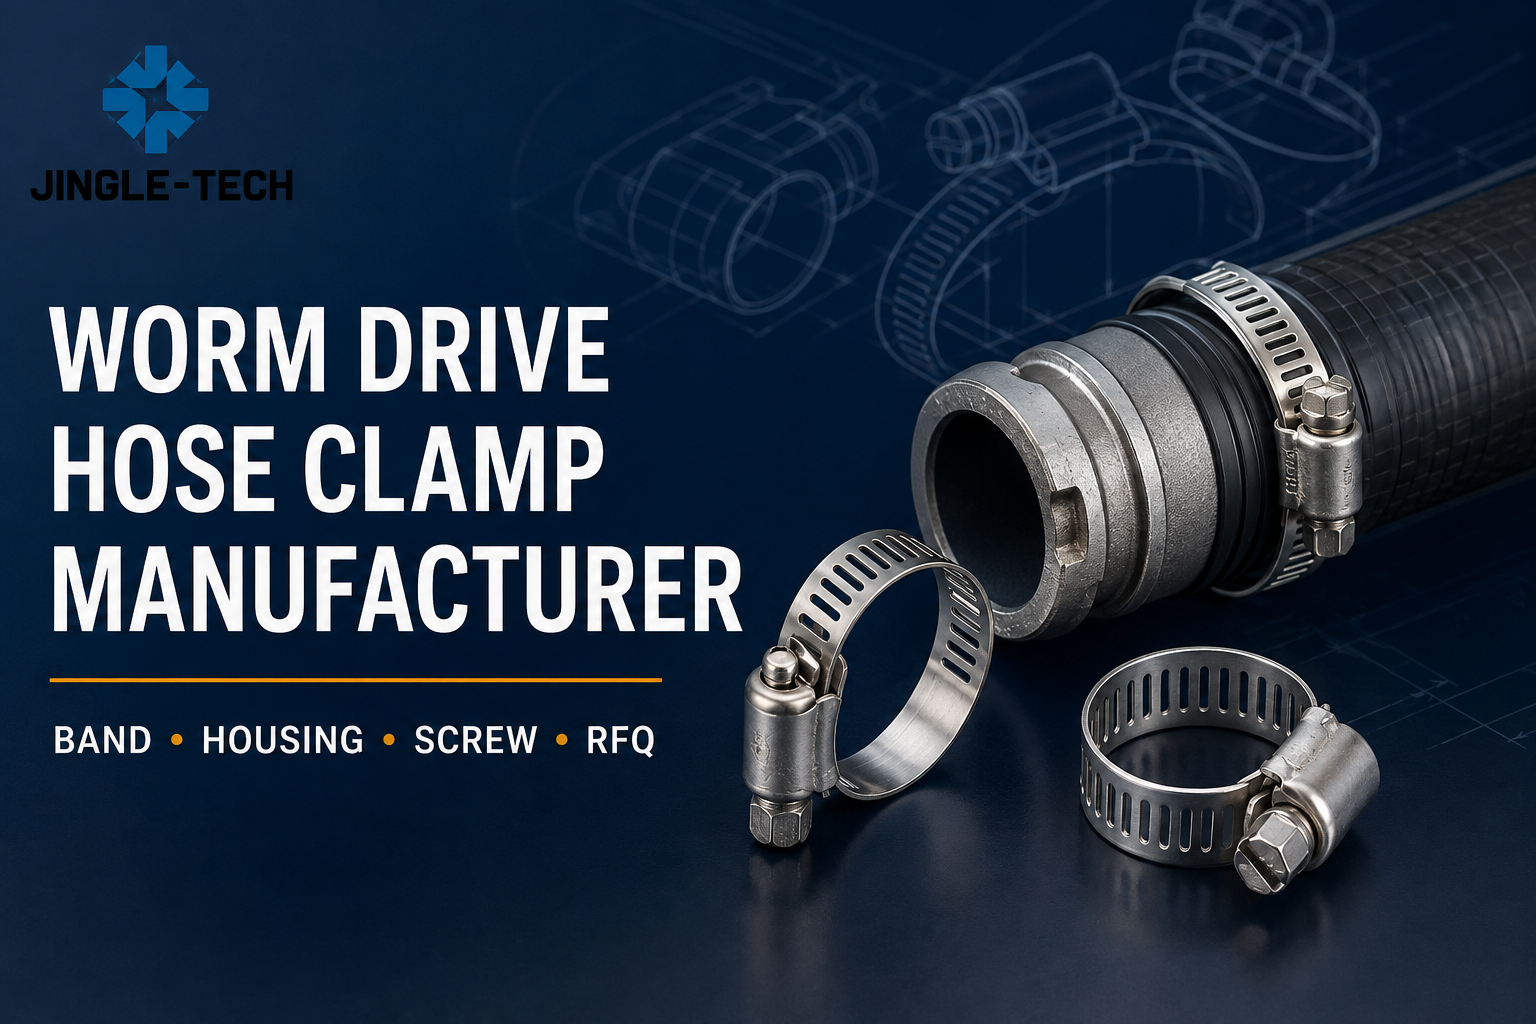
To begin tightening, use the appropriate tool based on the clamp type. For worm-gear hose clamps, the most common variety, you'll need a flathead screwdriver or a socket wrench that fits the screw head. Insert the tool into the screw slot and turn it clockwise to tighten. Apply steady, even pressure—aim for about a quarter turn at a time, checking the fit after each adjustment. Listen for the telltale click of the worm gear engaging, which indicates it's ratcheting down securely. If you're dealing with a spring clamp, use pliers to compress the ears and slide it into place, then release for automatic tension.
As you tighten, inspect the hose for signs of deformation. The clamp should compress the hose firmly against the fitting without cutting into the material. A good rule of thumb is that you should be able to slide a thin feeler gauge between the clamp and hose, but it shouldn't move freely. For T-bolt clamps, which are ideal for high-pressure applications, use a wrench to turn the bolt until the clamp band is snug, then torque to the manufacturer's specifications—typically 50-80 inch-pounds depending on size.
If you're unsure about the tension, consider using a torque wrench for precision, especially in critical systems like fuel lines or hydraulic hoses. Over-tightening can lead to cracking the fitting or bursting the hose, while under-tightening risks leaks under pressure. In automotive settings, for instance, a properly tightened hose clamp on a coolant line prevents overheating and engine damage.
Common Mistakes to Avoid When Tightening Hose Clamps
One frequent error in learning how to tighten hose clamp is ignoring the material compatibility. Stainless steel clamps are best for corrosive environments, like marine or outdoor uses, while galvanized ones suit less demanding indoor tasks. Always match the clamp material to avoid rust or chemical reactions that weaken the seal over time.
Another pitfall is reusing old clamps. Once tightened and removed, the tension mechanism may lose its grip, so opt for new ones for reliability. Additionally, don't tighten in a cold environment without warming the hose if it's rubber-based, as it can become brittle and crack under pressure.
For quick-release clamps or ear clamps, specialized tools like crimping pliers are necessary to achieve the right compression without distortion. After installation, run a pressure test—turn on the water or start the engine—to check for leaks. If any appear, loosen and reposition before re-tightening.
Tips for Maintenance and Longevity of Tightened Hose Clamps
Regular inspection is key to maintaining the integrity of your hose clamps. Every few months, check for signs of wear, such as corrosion, loosening, or hose degradation. If you notice any issues, knowing how to tighten hose clamp again or replace it promptly can extend the life of your system.
In summary, tightening a hose clamp is a simple yet vital task that, when done correctly, ensures safety and efficiency in various applications. By following these steps—selecting the right clamp, using proper tools, avoiding common mistakes, and maintaining regularly—you'll achieve professional results every time. With practice, this skill becomes second nature, saving you from costly repairs and downtime. Whether for DIY projects or professional work, a well-tightened hose clamp is the foundation of a reliable connection.